A Definition of CaptioningCaptioning is the key to opening up a world of information for persons with hearing loss or literacy needs. There are more than 30 million Americans1 with some type of hearing loss. Millions of others are illiterate2, learning to read, or use English as a second language… Captions not only display words as the textual equivalent of spoken dialogue or narration, but they also include speaker identification, sound effects, and music description. Captioning is critical for students who are deaf or hard of hearing, but it also aids the reading and literacy skills development of many others.—The Described and Captioned Media Program
- Around 466 million people worldwide have disabling hearing loss, and 34 million of these are children (World Health Organization).
- While… only 14% of the world population, in 2016, remained illiterate… the poorest countries in the world, where basic education is most likely to be a binding constraint for development, still have very large segments of the population who are illiterate (Our World in Data).
In Part 1 I introduced the
DCMP Captioning Key and some evidence-based principles they have developed that are especially suited to learning tools.
In this part I’ll show you how the DCMP guidelines informed my implementation in the well known eLearning tool we’ve adopted where I work, in part because of our ability to add this customization, Articulate Storyline 360. I’ll share a custom “style” that’s nothing more than a snippet of CSS code. I’ll show you how I make the custom style work in the AS360 desktop app Preview and persist from one publication to the next. Then, in a final Part 3 I’ll introduce a free, open source tool I’ve been using for several years and show you how I use it to assure the quality of my closed captions, and finally import those captions into AS360. I see two distinct pieces to this endeavour: the presentation—where it will appear and what it will look like—and the composition of the captions themselves, which includes where to break lines, how they’re formatted and how to get them into Storyline 360.
What level of quality can we achieve with Storyline?
The DCMP acknowledges, “It should be noted that the best practices detailed in this guide are not always possible to follow due to technical limitations.” So the first question is, “where do we set the bar for our particular software?”… Storyline 360, published as HTML5-only, in the case we’re considering today. This means whatever we decide will be governed by Cascading Styles Sheets (CSS). If you don’t know a thing about CSS don’t fret—I’ll show you a way to practice that won’t break your system. One of the reasons I like AS360, and recommend it highly for organizations and individuals who have a budget permitting the use of proprietary tools, is the discovery that all the CSS code for the captions is included in a single style statement:
.caption p {
  display:inline-block;pointer-events:none;padding:10px;
  text-shadow:-1px 0px black, 0px 1px black, 1px 0px black, 0px -1px black;
  color:#ffffff;border-radius:4px;background:#31373a;
  margin:0 0 10px 0;padding:10px;text-align:center;line-height:1.5
}
This snippet creates a style named caption that affects every paragraph (p) within an area (“division”, denoted div) assigned that style. It’s built of properties, such as display and pointer-events, separated from their qualities, e.g., inline-block or none by a colon, and from each other by semicolons. We don’t want to change anything we don’t understand, so we’ll be careful to choose only complete pairs of stylistic items for which there are guidelines in the DCMP Captioning Key—presentation look. These are separate and distinct from temporal elements such as presentation rate that influence caption duration. We can eliminate the spatial element location; this is a technical limitation of AS360 we can’t easily overcome at present, so the guidelines for Caption Placement, the preferred method of speaker identification, will have to wait. (We’ll mention a suitable alternative we can implement with Subtitle Edit in Part 3.) Storyline places all captions on the bottom two lines only, so we’ll also have to accept that ours might at times obscure some content. We’ll use transparency to deal with that.
The Captioning Key considers all of the following “guidelines” elements of the Text.
“Look” we can work with
- Font (typeface) characteristics must be consistent throughout the media
- “…medium weight, …sans serif… proportionally spaced… with descenders that drop below the baseline…”
The Open Sans and the PT Sans font families are popular suitable choices known for high readability1. - colour: “The use of white characters is preferred.”
- size: (about) 24pt equal 32px (pixel values (
px) is a good static, OS-independent, cross-browser choice… ) - and style.
…have a drop or rim shadow… should be left aligned when technically possible
- “…medium weight, …sans serif… proportionally spaced… with descenders that drop below the baseline…”
- …The use of a translucent box is preferred so that the text will be clearer, especially on light backgrounds.
Those are all things we can easily set without interfering with the rest of the default Storyline code. The defaults already provide white text with a shadow, but the font is small and the box is opaque. Text is centre-aligned, which is okay, but we can easily meet the guideline; we can choose open Sans in the Player settings, but I’ll set it here too so no one can change it.
Font size is easy to set, but likely the most subjective on the list. The Captioning Key itself doesn’t specify 24 points in the sections I’ve linked to, but it’s found elsewhere and the examples there support a similar number. Technically, browsers and monitors do their own thing with it regardless, so the pixel unit is considered a good choice—but even that’s relative to the user’s own preference settings. The standard conversion of 24pt to 32px was too large for my liking, so I’ve settled on 28px, but that’s still too large for mobile (often causing 2 lines to become 3). 21px looks good on my iOS devices. Articulate recently included a separate mobile style sheet, so it’s easy to make that happen.
Following are the settings I’ve chosen, which remain somewhat flexible.
background:rgba(72,72,72,0.81);That’s actually a translucent grey. You can experiment; the first three numbers should always be the same and the last is opacity, from 0.0 (fully transparent) to 1.0 (fully opaque).font-family:"Open Sans",Arial,Helvetica,sans-serif;The browser will choose Open Sans if it’s on the computer or on your server as a webfont. Otherwise offer Windows and Mac standards, or the first sans-serif font the browser can findfont-size:28px;for desktop,font-size:21px;for mobileline-height:1.18;This seems quite adequate.text-align:left !important;The ‘ !important’ is a CSS trick that’s necessary here (it’s about that word ‘cascading’ in Cascading Style Sheets)text-shadow:black 0 0 3px;I centred the shadow and made it 2 pixels larger.
The complete revision, what we’ve changed and what we haven’t looks like this:
.caption p {
  background:rgba(72,72,72,0.81);
  border-radius:4px;margin:0 0 10px 0;
  color:white;
  display:inline-block;
  font-family:"Open Sans",Calibri,Arial,Helvetica,sans-serif;
  font-size:28px;
  line-height:1.18;
  padding:10px;
  pointer-events:none;
  text-align:left !important;
  text-decoration:none;
  text-shadow:black 0 0 3px;
}
We don’t add CSS to a live server fully expanded like that, however. I’ll provide you with “minimized” versions you can use further down.
Putting it back together
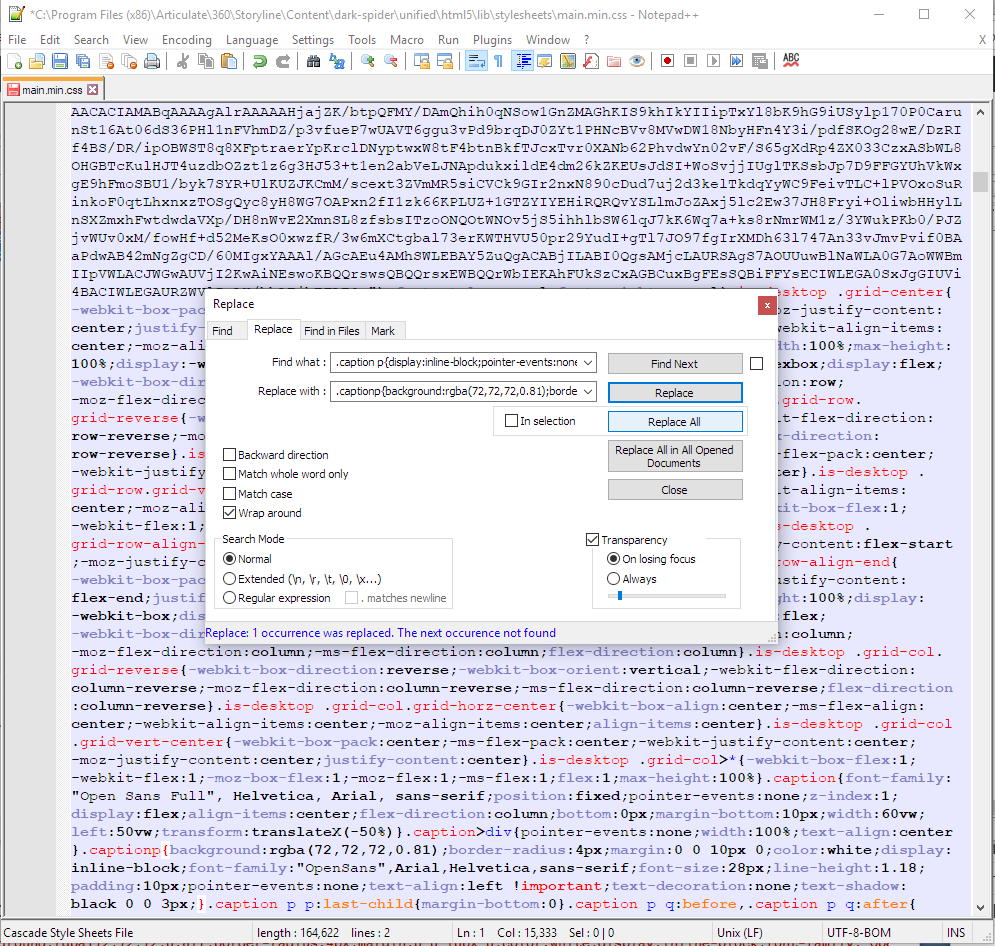
On a Windows system Storyline stores this information in three template files it writes from for Preview and Publishing. I use a free text editor called Notepad++ to open these, search for the default code I showed above in its minimized form, and replace it with the minimized code below.
Code to Find in all three files that follow:
.caption p{display:inline-block;pointer-events:none;padding:10px;text-shadow:-1px 0px black, 0px 1px black, 1px 0px black, 0px -1px black;color:#ffffff;border-radius:4px;background:#31373a;margin:0 0 10px 0;padding:10px;text-align:center;line-height:1.5}- C:\Program Files (x86)\Articulate\360\Storyline\Content\dark-spider\unified\html5\lib\stylesheets\main.min.css
- C:\Program Files (x86)\Articulate\360\Storyline\player\unified\html5\lib\stylesheets\desktop.min.css
- C:\Program Files (x86)\Articulate\360\Storyline\player\unified\html5\lib\stylesheets\mobile.min.css
Code to Replace it with in files 1 & 2:
.captionp{background:rgba(72,72,72,0.81);border-radius:4px;margin:0 0 10px 0;color:white;display:inline-block;font-family:"OpenSans",Arial,Helvetica,sans-serif;font-size:28px;line-height:1.18;padding:10px;pointer-events:none;text-align:left !important;text-decoration:none;text-shadow:black 0 0 3px;}Code to Replace it with in file 3:
.captionp{background:rgba(72,72,72,0.81);border-radius:4px;margin:0 0 10px 0;color:white;display:inline-block;font-family:"OpenSans",Arial,Helvetica,sans-serif;font-size:21px;line-height:1.18;padding:10px;pointer-events:none;text-align:left !important;text-decoration:none;text-shadow:black 0 0 3px;}I choose Notepad++ for this because it keeps these files open, notifies me whenever they’re change after a Storyline update, and automatically relaunches itself with Administrator privileges if I forget to open it that way and try to save any of these to Program Files(x86).
If you’re nervous about testing this process out in the program templates, you can try it on a published module first. Depending on how recent your AS360 version is you’ll find main.min.css and/or desktop.min.css and mobile.min.css in module-name - Storyline output\html5\lib\stylesheets
Summary of Part 2 and segue to Part 3
In Part 2 we explored the rationale for customizing the stock Storyline code, identified what’s possible with this particular software, revised the stock code, and saw where to place it so it’s in our previewed and published output.
Part 3 will look at Subtitle Edit, and how to set it up to speed up the process of creating quality closed captions for our learning modules. The DCMP site provides many examples of right and wrong choices for splitting lines other aspects of captioning and we won’t be able to discuss them all, but I’ll leave you with the basics and enough to take it forward from there. In the end you’ll be able to caption with Subtitle Edit, save the file in a suitable format, and import it into Storyline 360 using the relatively new Media Library.
Part 3 to follow soon. Thanks for reading!
§
Reference
1. Golombisky, Kim and Hagen, Rebecca (2017). White space is not your enemy : a beginner’s guide to communicating visually through graphic, web & multimedia design. Amsterdam ; Boston :Focal Press/Elsevier, 312pp.

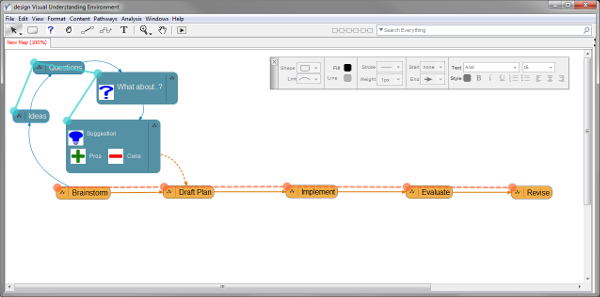
 My research into educational, mostly open source software tools identified ones that have proven multi-tasking abilities within “authentic” learning situations (Conole and Fill, 2005; Conole, 2008). Among these, the so-called “Mind Mapping” tools stand out for what I think are several very good reasons. The image to the right, a “mind map” of a recent research project, shows the good, the bad and the ugly.
 and shape and with the Quick Prototyping tool draw a line of bubbles in a quick succession of clicks…")


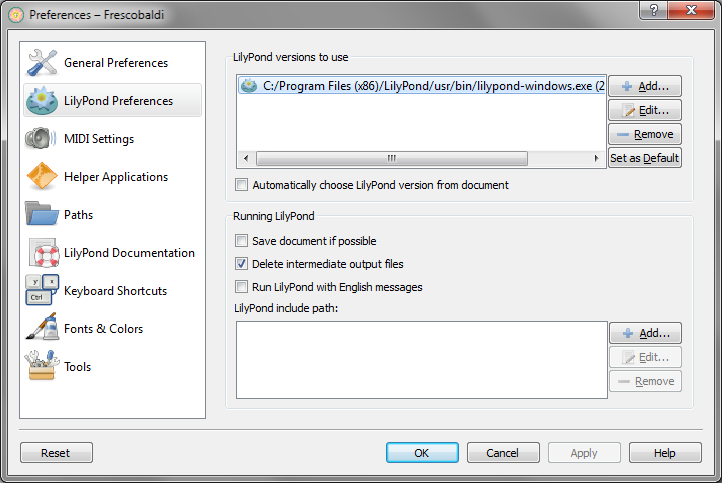
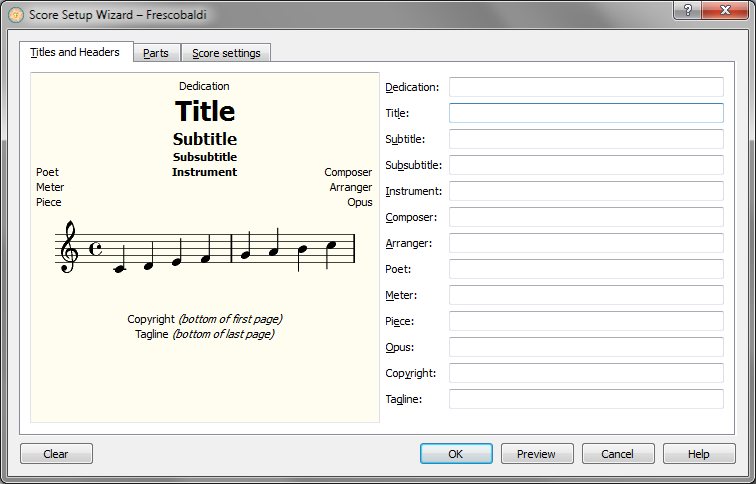
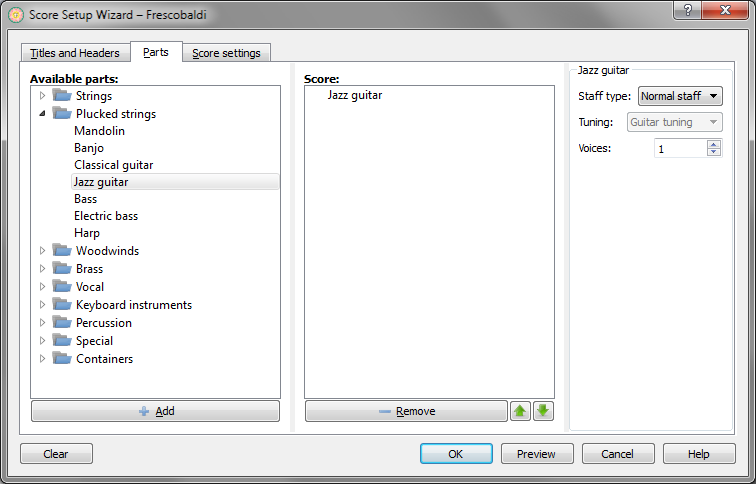
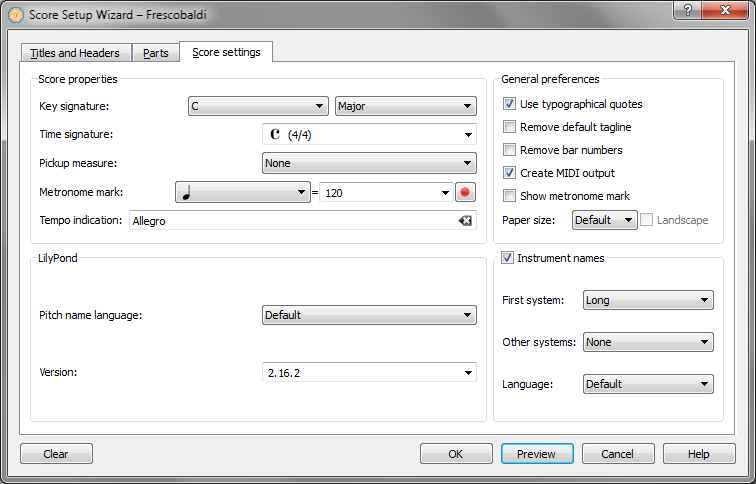
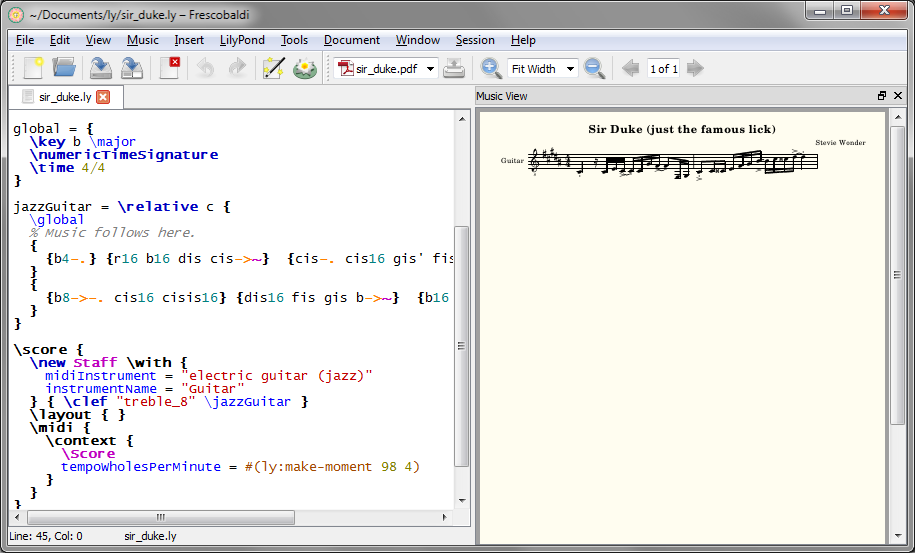
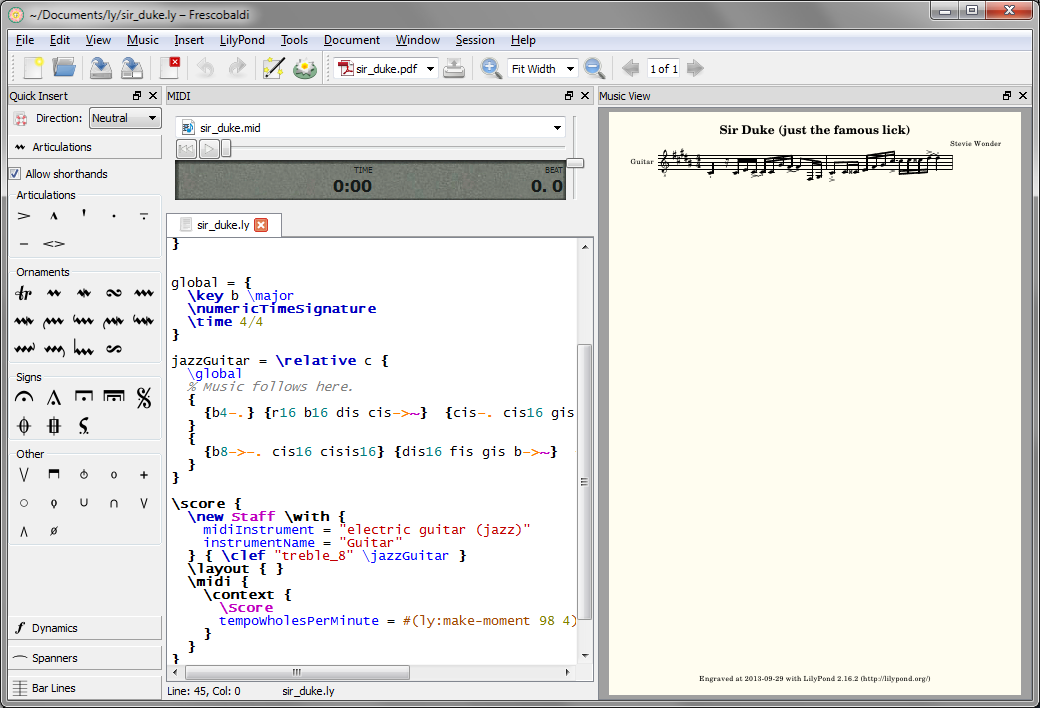
 engraved with LilyPond, version 2.17.27") LilyPond is open source music engraving software. LilyPond “…was designed to solve the problems we found in existing software and to create beautiful music that mimics the finest hand-engraved scores.” It produces some of the finest looking scores you can imagine, and almost any style of note or notation you can imagine. But it’s a scripting language—which for many people makes it very difficult to learn, and much too tedious to use. Enter Frescobaldi.
LilyPond is open source music engraving software. LilyPond “…was designed to solve the problems we found in existing software and to create beautiful music that mimics the finest hand-engraved scores.” It produces some of the finest looking scores you can imagine, and almost any style of note or notation you can imagine. But it’s a scripting language—which for many people makes it very difficult to learn, and much too tedious to use. Enter Frescobaldi.