In a repressed society, artists fulfil a sense of harking back to instant gratification, or immediate expression, by doing things that function on the edge of society, or outside of what is conventionally accepted.―Bat for Lashes“Instant gratification is like instant coffee, only it won’t keep you up all night.―Jarod Kintz
The importance of instant gratification must never be underestimated, even as we shun the pitfalls. As a guitar student, I know I “both impressed and vexed” my teacher by practicing, and to a fair degree learning material he thought a year or more down the road, instead of what he assigned me (he told me so in so many words). As a guitar teacher in a music store there was also an economically practical reason to get kids “playing something” as quickly as possible, namely to keep them coming back every week, and their parents smiling. This week’s ukulele lesson will apply some of the approaches I came up with way back then, while hitting today’s (Ontario, Canada’s) curriculum expectations for the age group.
Today they’ll hear some Blues, play some Blues and with any luck begin to feel their own Blues… in 12 bar cycles of 4/4 time!
Musical content
I’ll use technology—the ‘TuxUkulele’ track introduced last lesson [video]— to walk them through counting and time signature. They’re already good at the counting part and today I’ll teach a 4/4 conducting pattern, showing patterns of other time signatures in the process.
3:4 4:4 6:8
We don’t have computers with our ukes at present, and I won’t subject them to a lecture with a software demo. I’ll always start with a hello and a review and teaser, but then we’ll get the instruments out and begin strumming and playing notes.
I’m walking back one step from last week. My goal for today is to do a blues “vamp” on the Bb chord, and a “lick” (also “riff” and yes, “motif”) with a triplet feel over top of it.
With ukes in hand…
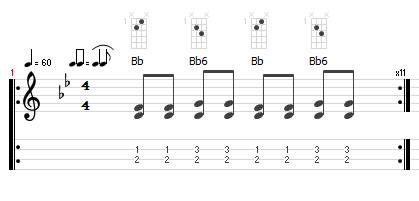
- [TuxGuitar (*.tg) file] Teach vamp… with and without “swing feel”
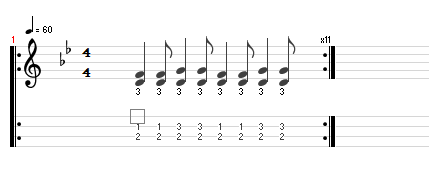
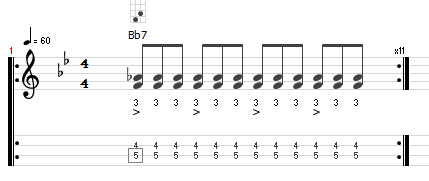
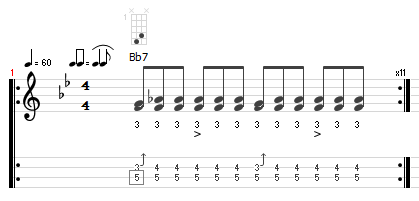
- Teach lick… Swing feel makes no difference. Why? Bends and slides cool, ambiguous major/minor 3rd
- [TuxGuitar (*.tg) file] Teach scale and fingering…
Hand position… keep thumb behind, hand cupped; hammer on
“Blues Major” and “Pentatonic Major” are different… how?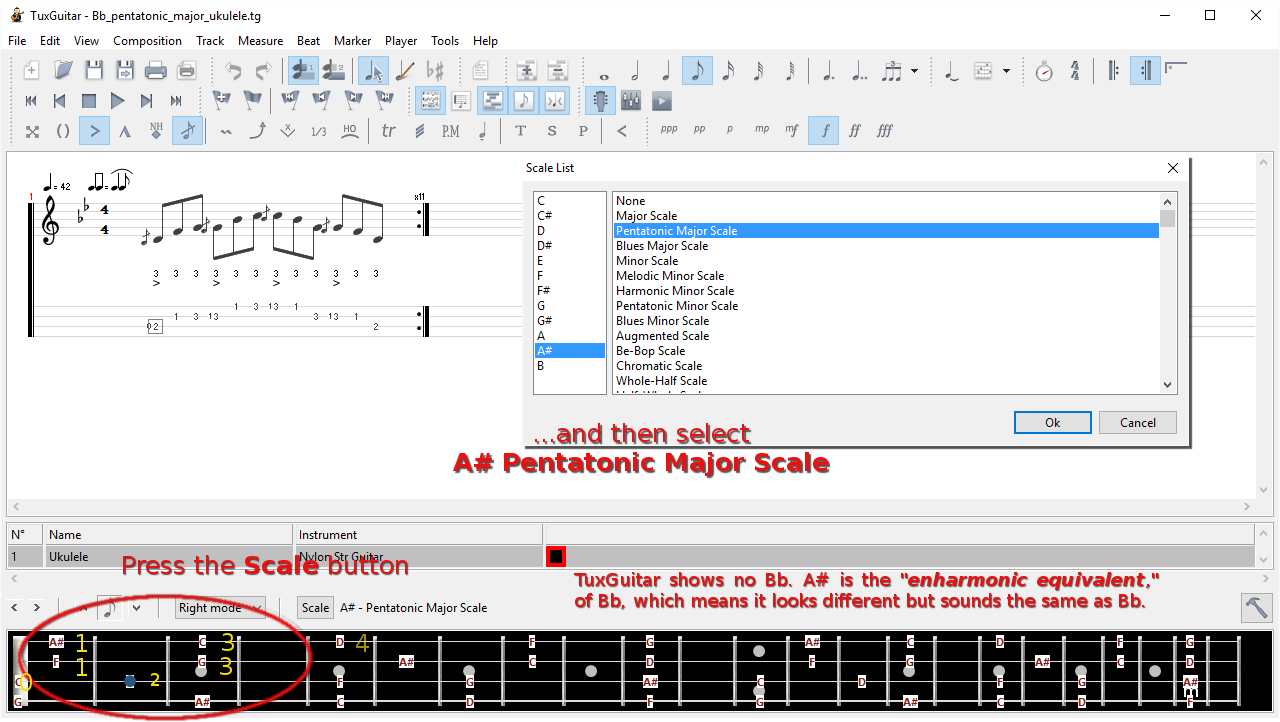 Fingering
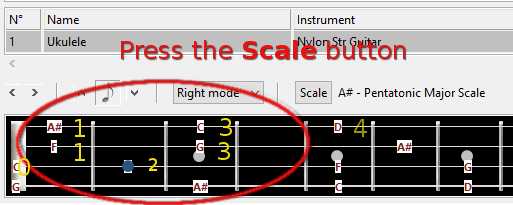
- [TuxGuitar (*.tg) file] Teach scale and fingering…
Hand position… keep thumb behind, hand cupped, pinky hovers over frets
“Blues Minor” and “Pentatonic Minor” are different… how?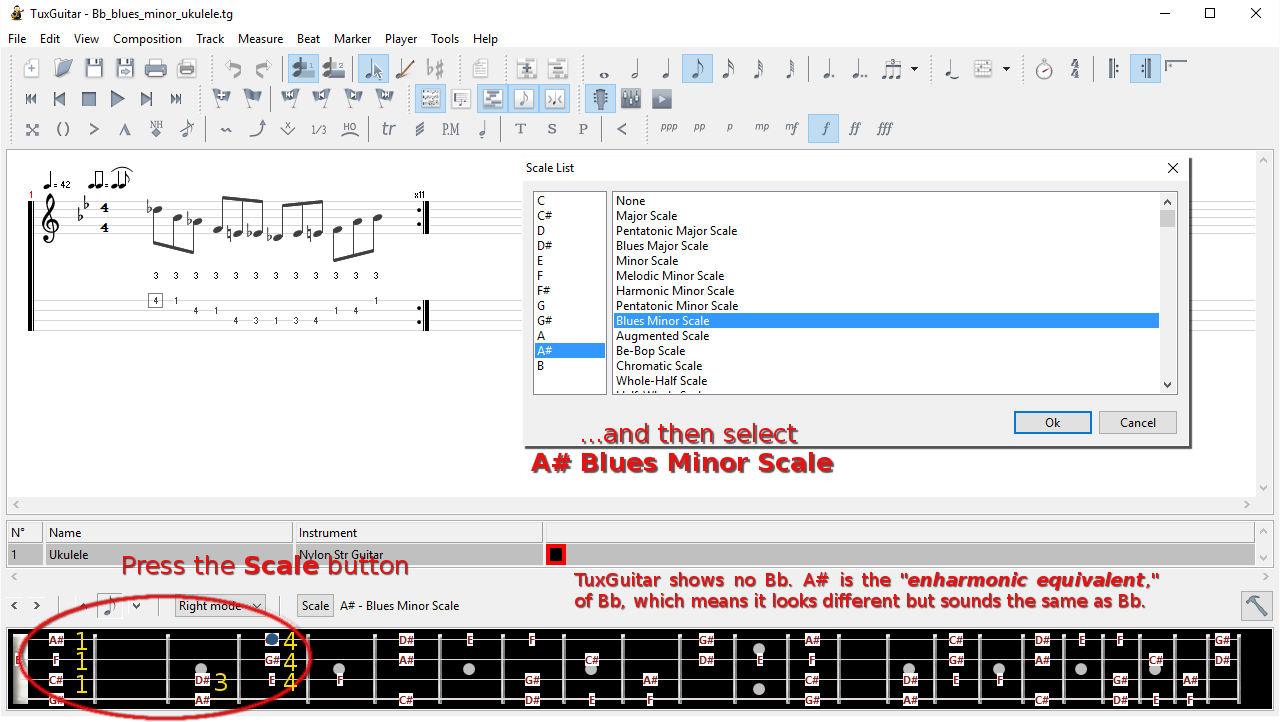 Fingering
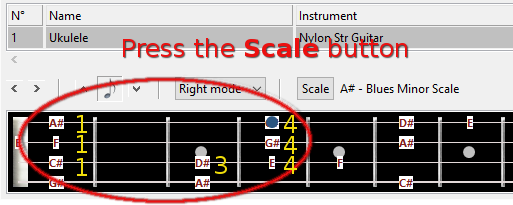
Those are nearby, convenient Bb major and minor pentatonic scale patterns that form a perfect segue into ‘TuxUkulele.’
On the SMART board
(keep this short, unless everyone has a computer with TuxGuitar on it)
- Launch TuxGuitar, then open ukelele template
- Add swing; tempo <= 60; key Bb
- Opportunity to show conducting pattern
- Show scale; play 1st position pattern (2 notes/string) for and with the learners
- Show notes;
- Show chord symbols;
- Opportunity to use conducting pattern
- Repeat for lick (if time and engagement allow)
Back in the real world
- turn off software (or use purely as metronome)
- listening time
- Robert Johnson Crossroad Blues [ lyrics]
-
Crossroad Blues
   —Robert Johnson

I went down to the crossroad
Fell down on my knees
I went down to the crossroad
Fell down on my knees
Asked the lord above “Have mercy now
save poor Bob if you please”

Yeeooo, standin at the crossroad
Tried to flag a ride
Ooo ooo eee
I tried to flag a ride
Didn’t nobody seem to know me babe
Everybody pass me by

Standin at the crossroad babe
Risin sun goin down
Standin at the crossroad babe
Eee eee eee, risin sun goin down
I believe to my soul now,
Poor Bob is sinkin down

You can run, you can run
Tell my friend Willie Brown
You can run, you can run
Tell my friend Willie Brown
(Th)at I got the crossroad blues this mornin’ Lord
Babe, I’m sinkin down

And I went to the crossroad momma
I looked east and west
I went to the crossroad baby
I looked east and west
Lord, I didn’t have no sweet woman
Ooh-well babe, in my distress
- Charlie Patton 34 Blues [ lyrics]
-
34 Blues
   —Charlie Patton

I ain't gonna tell nobody, '34 have done for me
I ain't gonna tell nobody what, '34 have done for me
Took my roller(1), I was broke as I could be

They run me from Will Dockery's(2), Willie Brown, I
want your job
They run me from Will Dockery's, Willie Brown, I want
your job
(spoken: Buddy, what's the matter?)
I went out and told papa Charley,
"I don't want you hangin' round on my job no more"

Fella, down in the country, it almost make you cry
Fella, down in the country, it almost make you cry
(spoken: My God, children!)
Women and children flaggin' freight trains for rides

Carmen got a little six Buick, big six Chevrolet car
Carmen got a little six Buick, little six Chevrolet car
(spoken: My God, what solid power!)
And it don't do nothin' but, follow behind Holloway's
farmer's plow

And it may bring sorrow, Lord, it may bring tears

It may bring sorrow, Lord, and it may bring tears
Oh, Lord, oh, Lord, let me see your brand new year
- Howlin’ Wolf Killing Floor [ lyrics] Is this still “swing feel?” (“straight 8ths”)
-
Killing Floor
   —Howlin' Wolf
I should of quit you, a long time ago
I should of quit you, Babe, long time ago
I should of quit you, and went on to Mexico

If I had of followed, my first mind
If I had of followed, my first mind
I'd of been gone, since my second time
Ah

I should of went on, when my friend come from Mexico at me
I should of went on, when my friend come from Mexico at me
But no I was foolin' with ya, Baby, I let ya put me on the killin' floor

Lord knows, I should of been gone
Lord knows, I should of been gone
And I wouldn't have been here, down on the killin' floor
Yeah
- Identify lyric pattern, 2+1 form
- play, student conductors, etc.
- Easy Tux Blues, (using tritone relationship) [TuxGuitar (*.tg) file]
§
Resources
How to read music – Tim Hansen [TEDEd Lesson]
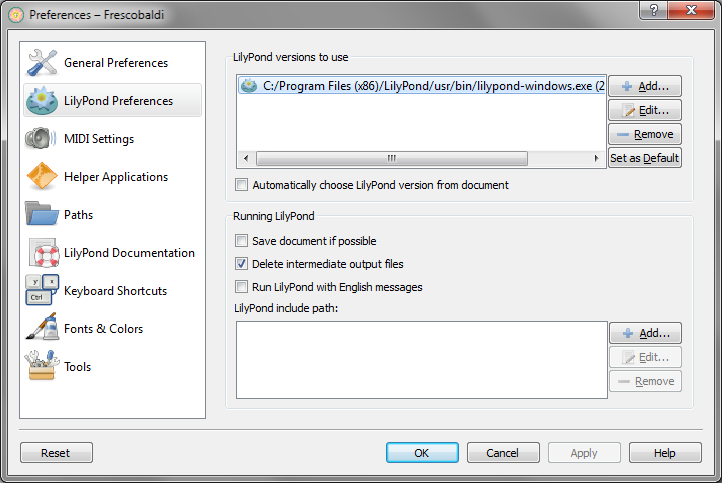
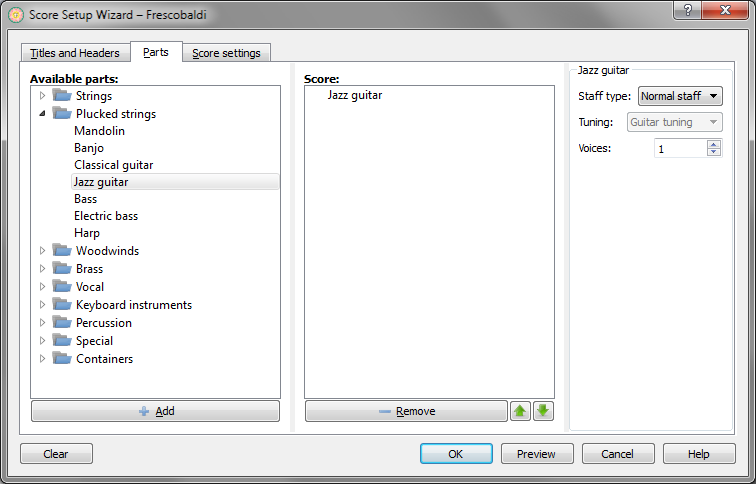
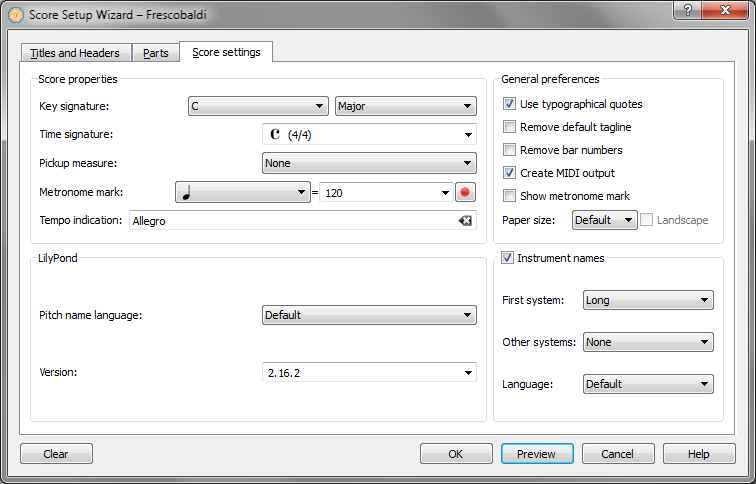
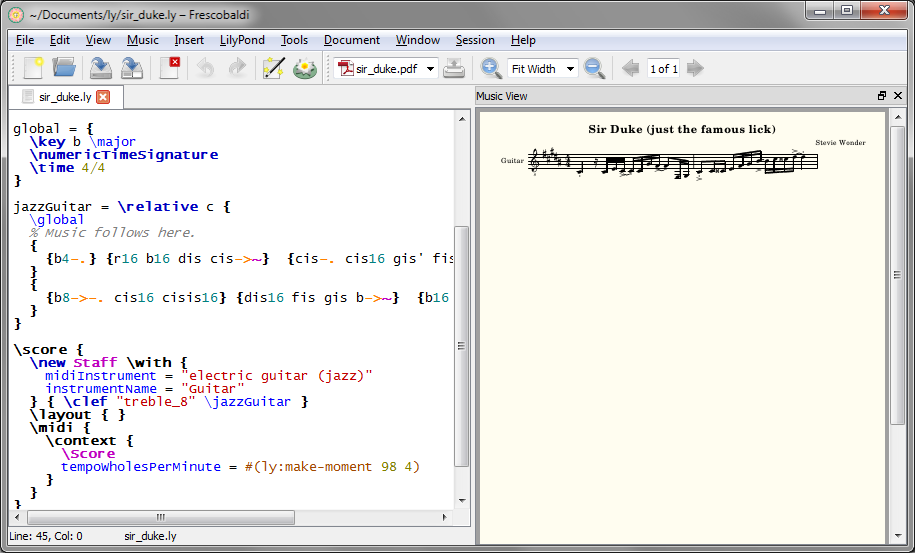
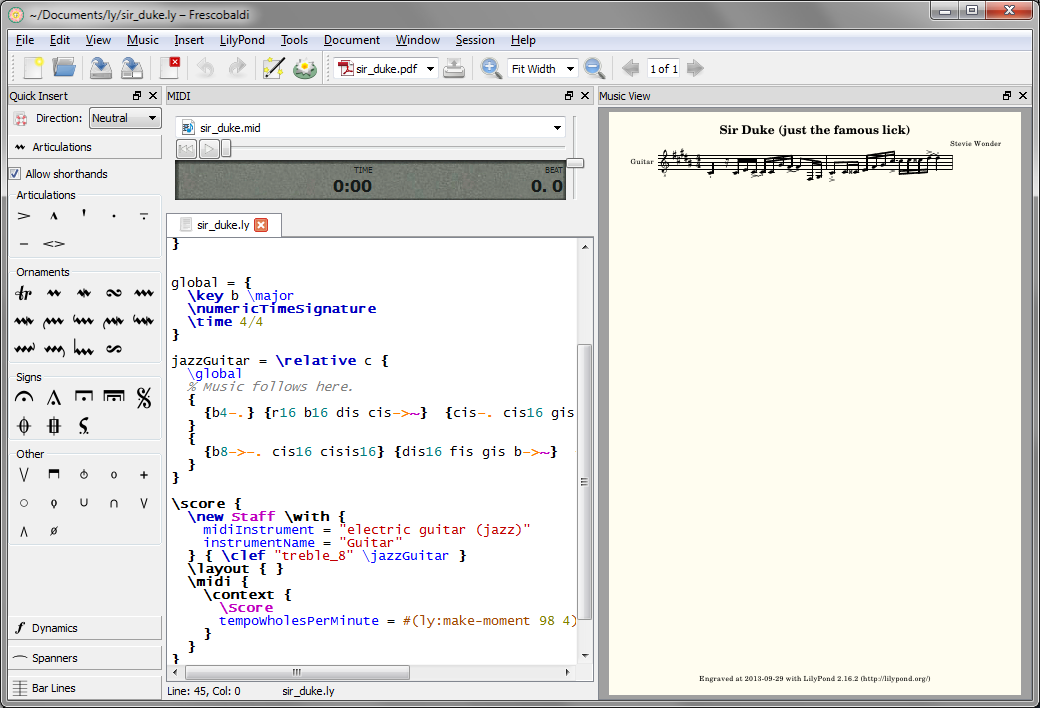
 engraved with LilyPond, version 2.17.27") LilyPond is open source music engraving software. LilyPond “…was designed to solve the problems we found in existing software and to create beautiful music that mimics the finest hand-engraved scores.” It produces some of the finest looking scores you can imagine, and almost any style of note or notation you can imagine. But it’s a scripting language—which for many people makes it very difficult to learn, and much too tedious to use. Enter Frescobaldi.
LilyPond is open source music engraving software. LilyPond “…was designed to solve the problems we found in existing software and to create beautiful music that mimics the finest hand-engraved scores.” It produces some of the finest looking scores you can imagine, and almost any style of note or notation you can imagine. But it’s a scripting language—which for many people makes it very difficult to learn, and much too tedious to use. Enter Frescobaldi.
 Choosing the right technology for the job depends on many factors. One important factor is fun, and I do have fun making a beautiful print-like chart in Tux guitar. LilyPond offers even more versatility, and now there’s My VexFlow. But some very close friends have asked me to record a Tom Cochrane song on solo acoustic, so I thought I’d share the technology I chose and the criteria by which I chose it.